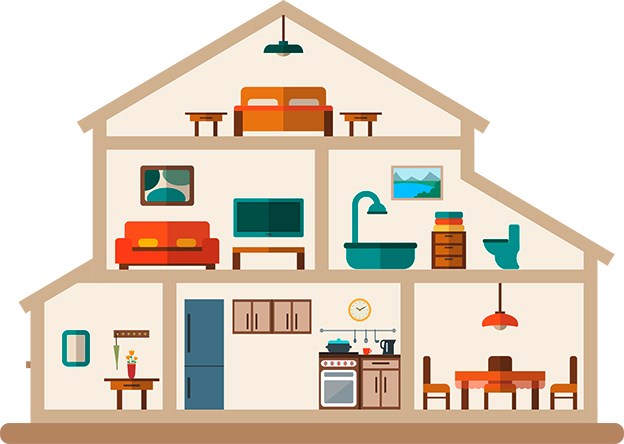
Turn your house into a practice range
Published: Last updated:

You don’t have to wait till you get to the course or the range to start improving your golf.
We’ve come up with six ways you can make progress without leaving your front door.
Just make sure you keep checking your backswing for glass objects, pets or family members who haven’t yet twigged their home is, in fact, a well-equipped practice area.
In the bathroom… Get on the scales for balance
Grab your putter, head up to the bathroom and get out the scales. Ideally they’ll be the old-style ones with a needle, but a digital one will work fine. Now, stand on the scales, take your putting stance and make a stroke. The less the needle moves, the better – it reveals balance and stability, both essential for accurate putting. Big needle deflections betray excessive movement during your stroke, which will compromise attack angle, path and face rotation.
In the hallway… use the skirting for plane
Find a wall with plenty of space. Take a mid-iron and set up square to the wall, the club’s toe against the skirting board. Swing back till the clubshaft is horizontal; at this point it should be parallel with the wall. Now go back further until your lead arm is horizontal – the butt of the club should point at the skirting. Swing to the top where, again, the shaft should be parallel with the skirting. Then complete the swing in slow motion, making sure you make the corresponding throughswing checks.
In the lounge… use a chair to improve your backswing
Find a chair, ideally one with a square back. Set up with the seat facing away from your ‘target’, the back of the chair against your trail hip pocket and angled slightly to mimic your trail foot’s flare. Criss-cross your arms and take your golf posture. Now turn back so your hip pocket rubs along the back of the chair. This easy drill helps you develop a feel for your hip rotating in its own space – as opposed to sliding and shifting.
In the kitchen… Use tiles for aim and ball position
Floor tiles create a superb square grid that makes a perfect alignment aid. Take your driver and a ball. Form your set-up, using the down-the-line tile lines to guide your toes to a square position. Splay your feet evenly. Now use the lines running across your target line to guide ball position – opposite the lead foot instep. Finally, use the tile lines again to check your clubface is square. Does this square position feel comfortable to you? If not, chances are your alignment is off.
Use the stairs for flight control
For this drill, invest in some Airflow or 30% balls. Take them and your wedge to the foot of the stairs. If you’ve no carpet, find an appropriate mat. Focus on the risers (the vertical part, facing you) of the bottom four stairs. Number them one to four. Now, pick a number and experiment with face loft, shaft lean and ball position to fly the ball into that riser. When you can hit your nominated riser at will, you’ll have learned how to control trajectory with one club – vital for short-game versatility.
In the dining room… push the club against a table leg to mimic impact pressure
Take a mid-iron and set up opposite your table leg, the clubhead against it. Now push forward to simulate impact, opening your hips and letting your lead foot take more weight. As you do this, feel the pressure of the club against the table leg growing. Keep going, using the slow drive and rotation of your hips and torso to force the club ever more firmly against the leg. This drill helps you feel the correct way to apply pressure to the golf ball, with force moving from your body into your arms, and down the clubshaft into the ball.
By TG Top 50 Adrian Fryer, Fellow of PGA at True Fit Golf Centre, Warrington